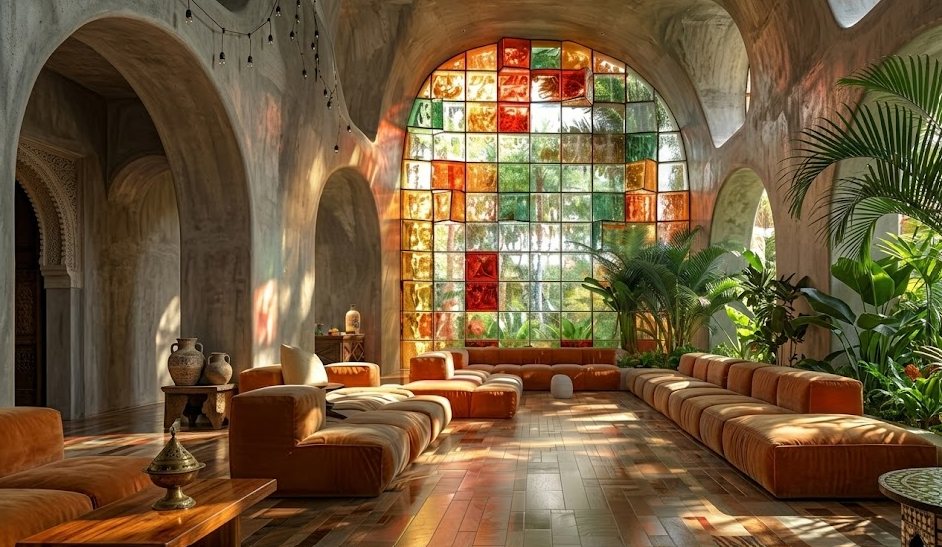
AI interior design is most useful as a comparison tool. It lets you apply a style, colour, floor, furniture concept or focused edit to a photograph of an existing room. The output can make an idea easier to see and discuss, but it does not know every dimension, product, service route or construction constraint hidden outside the image.
What is AI interior design?
AI interior design uses an image model to create a visual redesign from a room photo and a set of instructions. A focused tool can preserve the source room as context while changing selected aspects such as style, furniture, wall colour or flooring. The result is a concept image—not a measured design or guarantee that the shown products and details are buildable.
That distinction determines how the tool should be used. If you ask, “Which atmosphere feels right?” or “Does a darker floor work with this light?” a generated image can give a fast, concrete answer. If you ask, “Will a 920 mm cabinet clear this door?” the photograph does not provide reliable measured information. The second question belongs in a measured plan.
General image generators often have no reason to protect the geometry of the uploaded room. A dedicated workflow gives the model a narrower task: restyle the whole room, recolour a surface, replace the floor, add furniture to an empty room or edit a masked area. Choosing the correct task usually matters more than writing a long, decorative prompt.
Start by choosing one workflow
Before uploading anything, write down the decision you are trying to make. “Improve the living room” is too broad. “Compare a warm Scandinavian restyle with a quieter Japandi direction while keeping the fireplace” gives the generation a job and gives you a basis for evaluating it.
Use a complete room restyle when…
You want to compare overall atmosphere, furniture language, materials and palette as one composition. Start with Room Restyle.
Use a focused tool when…
You already like most of the room and need to compare one variable. Use Interior Recolor, Floor Design or AI Inpaint.
Changing one variable at a time produces a cleaner comparison. If the model simultaneously changes the floor, sofa, windows, lighting, camera position and wall colour, you may like the final picture without knowing which decision made it work. A useful design process makes differences legible.
Take a photo the model can read
The photograph carries more design information than the prompt. It shows perspective, openings, daylight, existing materials and approximate relationships. A weak source image forces the model to invent missing context.
- Use a sharp, well-lit image without a beauty filter or heavy colour edit.
- Keep the camera level so vertical walls and doors do not lean dramatically.
- Step back enough to show at least two walls, the floor and important openings.
- Remove people, private documents and unnecessary personal information from frame.
- Reduce loose clutter, but keep fixed elements and furniture that should influence the design.
- Avoid screenshots, collages, fisheye distortion and images downloaded from another project.
Photograph the constraint, not only the attractive angle
An image taken from the doorway may be less dramatic than a close composition, but it can show circulation and the relationship between large furniture pieces. If a radiator, low window or awkward corner affects the project, include it. Hiding a constraint from the model does not remove it from the room.
Field note: Save the untouched source photo. Compare every output against it, especially windows, doors, ceiling height, built-ins and the apparent width of circulation routes.
Write a brief, not a list of adjectives
A good instruction identifies the room, desired direction, important materials and elements that should remain. It can be short. More words do not automatically create more control; contradictory words create ambiguity.
A practical prompt structure
- Name the room and task: “Restyle this living room.”
- Choose one direction: “Warm contemporary with quiet Japanese influence.”
- Add two or three material cues: “Natural oak, textured off-white plaster and muted olive upholstery.”
- State a real constraint: “Keep the fireplace, windows and current camera view.”
- Describe light only if needed: “Preserve the existing daylight; add soft evening lamps.”
The brief should describe visible design intent. Product model numbers, exact paint codes and precise dimensions may be ignored or represented inaccurately because an image generator creates pixels, not a purchasing schedule.
Avoid conflicting instructions. “Minimal but highly decorated,” “dark room with bright natural daylight,” or five unrelated style labels force the model to choose an interpretation you did not define.
Evaluate usefulness before beauty
A polished image can still be a poor reference. First check whether it respects the parts of the room that matter. Then decide whether the design idea itself is valuable.
Geometry check
Compare the output and source side by side. Look for moved windows, changed door widths, missing radiators, enlarged rooms, impossible ceiling lines and furniture that blocks circulation. A concept with major spatial drift may still inspire colour or material choices, but it should not be treated as evidence that the layout fits.
Design check
Identify the specific decisions you like. Is it the contrast between floor and cabinetry, the lower visual weight of the sofa, or the warmer wall tone? Naming the useful element makes the render actionable. “I like all of it” is difficult to translate into products and drawings.
Reality check
Ask what the image leaves unresolved: dimensions, availability, budget, fire safety, ventilation, moisture, structural work, electrical changes, accessibility and local permissions. The answer will differ by project, but the render never resolves these items on its own.
Move from image to a real project
Choose one or two preferred outputs, keep the original source and make a simple decision list. Separate the visual direction from the details that require verification.
- Keep: the palette, atmosphere and broad furniture character that made the concept work.
- Measure: the room, openings, fixed services and furniture clearances.
- Source: real finishes and products that reproduce the chosen direction within budget.
- Verify: construction, safety and regulatory requirements with the appropriate professionals.
- Iterate: use a focused edit when one unresolved material or colour still needs comparison.
The strongest outcome is not a picture copied literally. It is a clearer brief: a visual direction that everyone involved can discuss, test and turn into accurate design information.