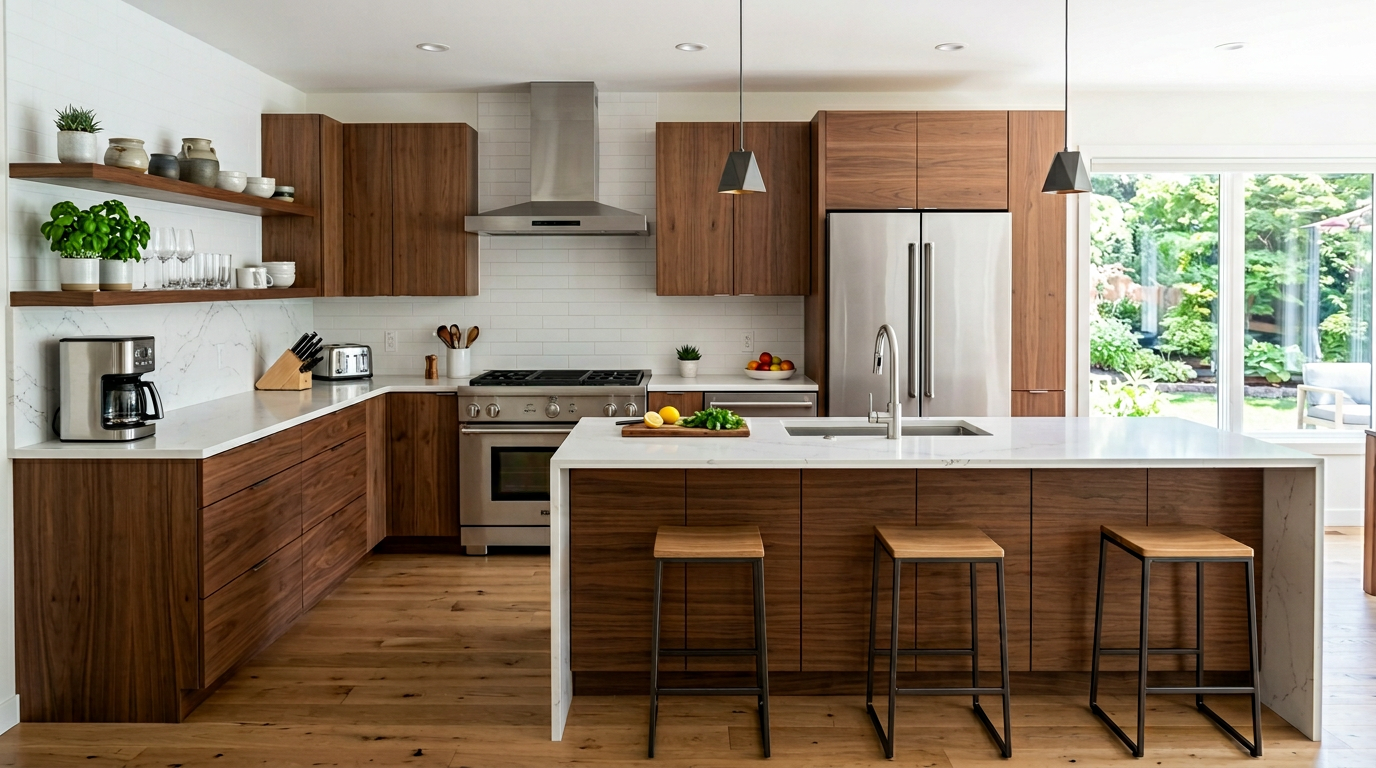
A kitchen is a visual composition and a technical system. AI is useful for the first part: it can show cabinets, worktops, splashbacks, flooring and colour as one coordinated direction. The second part still requires accurate dimensions, product data and qualified design for plumbing, ventilation, electrics, fire safety and installation.
What can an AI kitchen visualizer decide?
An AI kitchen visualizer helps compare the appearance of a remodel on a photograph of the existing room. Use it to narrow cabinet style, material contrast, colour temperature and overall atmosphere. Do not use it to confirm cabinet dimensions, appliance clearances, service positions or whether a proposed layout complies with local requirements.
Begin with a design question. “Should this kitchen feel lighter and quieter, or darker and more architectural?” is suitable. “Where exactly should the gas connection move?” is not visible design and cannot be answered reliably from generated pixels.
Keeping those categories separate prevents a common mistake: treating a beautiful image as a complete plan. The render should help you describe what the kitchen should feel like. A measured design should establish how it will actually work.
Record what exists before redesigning it
Make a simple inventory before taking the source photo. Note the features that are fixed, the elements you intend to keep and the constraints that a generated image may overlook.
- Doors, windows, ceiling slopes and structural projections
- Water, waste, gas and ventilation locations that may be costly to move
- Electrical outlets, lighting points and appliance circuits
- Radiators, underfloor heating zones and other heat sources
- Appliances or recently installed elements that will remain
- Access routes, opening clearances and adjacent dining or circulation space
You do not need to place all of this information in the AI prompt. The inventory is primarily for evaluating the result. If the render puts a tall cabinet across the window or moves the sink to an impossible wall, you can identify the conflict immediately.
Create a useful source image
Photograph the kitchen from a position that shows the main cabinet runs and their relationship to doors and windows. Turn on useful fixed lighting, but avoid a strong mix of blue daylight and orange artificial light if you want to judge colour accurately.
Prepare the room without erasing reality
Clear small appliances, dishes and loose items from worktops so the model can read their edges. Keep fixed appliances, bulkheads, radiators and other constraints visible. A clean source image improves segmentation; a misleading source image produces a misleading concept.
- Hold the camera level around chest height.
- Use the normal camera lens rather than an extreme wide-angle mode.
- Include some floor and ceiling to establish scale.
- Take a second angle for your own reference, even if the tool uses one image at a time.
- Keep people, mail, family photographs and private information out of frame.
Compare complete design directions
Use Novaform AI Kitchen Design to generate two or three distinct but coherent directions. Change the design hypothesis, not only the adjective.
Direction A: light and quiet
Pale oak or warm off-white fronts, low-contrast worktop, restrained hardware and a softly textured splashback.
Direction B: darker and defined
Deep green or charcoal fronts, lighter mineral worktop, stronger task lighting and controlled warm-metal accents.
Both options can answer the same functional brief but create different visual weight. Comparing clear alternatives is more informative than generating ten near-identical beige kitchens.
Describe relationships, not an inventory of trends
A focused instruction might say: “Redesign this kitchen in a warm contemporary style. Use natural oak base cabinets, muted off-white tall units and a lightly veined warm stone worktop. Keep the windows, doors, appliance positions and camera view. Use simple lighting and avoid open shelving.”
This gives the model a hierarchy. Cabinet tone, worktop contrast and retained elements matter; decorative accessories do not control the image.
Verify what the image changed
Compare the source and result before deciding whether you like the design. Mark every unrequested change. A useful concept can tolerate small decorative invention, but it should not quietly solve the project by making the room larger.
- Count doors and windows and compare their positions.
- Check whether cabinet runs became longer or deeper.
- Look for appliances that changed width or lost ventilation space.
- Inspect corners, handles, stools and pendant lights for image artefacts.
- Confirm that floors and walls did not change when you were comparing cabinets only.
- Note any desirable idea that would require moving water, power, ventilation or structure.
Generated clearances are not measurements. A walkway that looks comfortable in the render may be too narrow once real cabinet depths, handles and opening doors are considered.
If the style works but the floor is wrong, use the render as a style reference and test flooring separately with Floor Design. Isolating the next decision produces a clearer brief than repeatedly regenerating the entire kitchen.
Turn the preferred image into a supplier brief
Do not ask a supplier to copy every object in the image. Extract the decisions that made the direction successful and pair them with accurate information.
- Attach the source and preferred render. The source explains the real room; the render explains intent.
- List retained elements. Identify appliances, floors, windows and services that should not move.
- Name the visual priorities. Describe cabinet profile, colour relationship, worktop character and hardware restraint.
- Provide measurements or request a survey. Do not estimate cabinet widths from the generated image.
- Request real samples. Compare fronts, worktops, splashback and flooring together in the room's actual light.
- Ask for technical drawings. Review elevations, opening clearances, services, ventilation and installation details before ordering.
The AI stage has done its job when the design conversation becomes specific. You should be able to explain why one direction works, which elements are essential and what must now be measured or priced.